
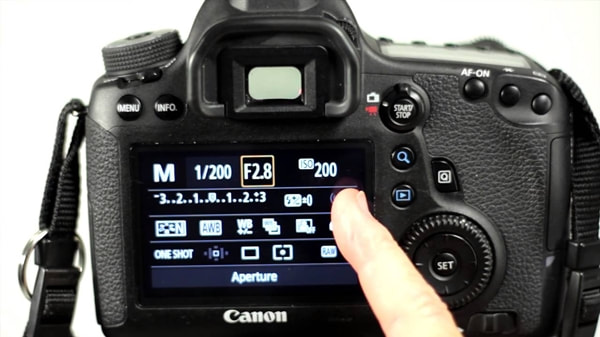
 To control more during the picture editing procedure, you must shoot in the RAW instead of JPEG. RAW pictures will provide you the best ability to alter the image—they are mostly negatives that have not been done yet. You have even more control over an exposure of the white balance, the image, shadows, contrast, highlights and more. They are much bigger files and are impractical without editing, and so you may have to do even more to complete them. When you want to make less work in the post production and be aware that you can take the shots perfect during the first time, shoot in JPEG. You may want to set an aperture, shutter speed and ISO of the camera. The aperture controls how much light will come in with the lens, and an ISO controls how delicate a camera is in the light. A shutter speed is controlling how long a camera allows the light to reach a sensor. Suggested real estate photography set-up:
How to complete the science of the real estate listing pictures? 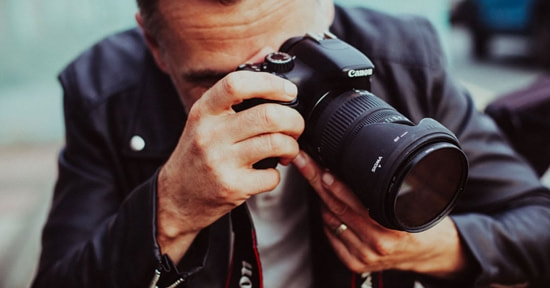 Materials: You cannot control nearly that much with the iPhone as what you can with the high quality camera. You’ll also need to photo-shoot with the wide lens that the iPhones don’t have. You need to purchase, rent, or borrow a DSLR or high quality camera, wide angle lens and a tripod. There are tons of DSLR cameras that you can choose from, but real estate photography will fit best with Canon and Nikon. The wide angle lens has been important to get the proper listing photos. The wide angle lens has been the difference between taking an image and taking half the area and shooting an image where you will see the entire space. You have to use the wide angle lens in every shot! 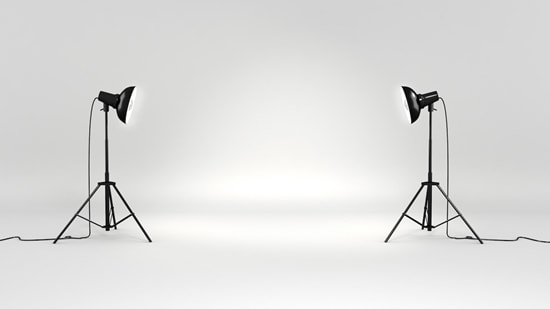 Lightings:
The best lightings for the indoor image will be if the sun is shining and bright. Outdoor shots will be best taken at sunset. Avoid rainy, overcast, and cloudy days, as it will cause uneven white balance and bad lighting. When you want to take a more technical regarding it, the great time to photo shoot will depend on the way every room in the house faces. You’ll wish the sun was behind your camera so that the colors are clarified. For example, when capturing pictures of an outside, you may assume that: you must have the photo in an East-facing home during the morning, the West-facing home in the afternoon, the North-facing home between 10 a.m. - 4 p.m., and the South-facing home during the early morning and just before the sunsets. For inner shots, take into consideration the placement of windows in each room, and assess the sun’s position. Then, take some test shots to identify when the light is at its best. You must be able to witness the details and the colors in the room; however, the shots should not be so bright where the windows and the colors are blown out. Remember to not rely on the artificial lights in the room, except when a home is dark itself that each light bulb in the area is similar.
0 Comments
Leave a Reply. |
A. RookeReal estate photographer for 10 years. Archives
August 2020
Categories |
 RSS Feed
