
 One place to search for the photographers is on the local board of Realtor. They normally have the database of the vetted photographers who pay to promote their services. The word of mouth has been the best means to take one awesome photographer. When you spot the gorgeous listings, just simply reach out to the listing agents and ask if they would be willing to allocate the name of the photographer. Just be certain that you identify the pictures that not only seize your attention, but have the style that aligned with the unique brand. But with the Pinterest and Instagram in the mix, lots of photographers can have their portfolio at that moment.  Questions to ask: When you have identified the top photographer candidates, here are some key questions that you can ask before you come to an agreement:
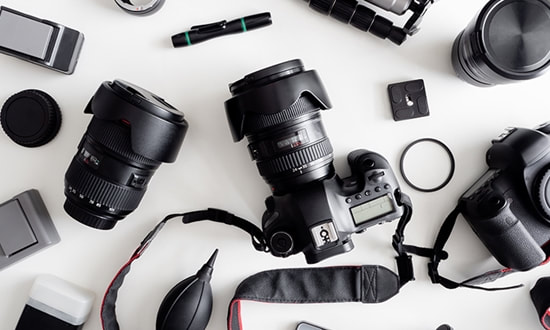 The next-level of real estate photography gears
You perhaps knew about the cool and jaw-droppingly VR and AR tools out there, however, you might be astonished to discover that most of them had been much more reasonable than you think. Below are some of those high-octane alternatives you can take into consideration to create your listings pictures even more powerful. 1. Choose the top real estate photography company in your country. The company should not only give still images, but the HD virtual tour of your property is a plus. The price range will depend on the quantity of pictures required, the location and also whether the photo shoot will take place during twilight or daylight. 2. Prefer the one who creates still images, aerial videos, videos and 3D and 2D floor plans that will assist you to market your property. 3. The real estate photography must provide a diversity of accessories and tool that will help the Realtors in marketing themselves. They are also offering yearly broker packages which include making the premium property websites, to every listing and the YouTube channel that will assist you to extend your reach. The costs will vary depending on the number of listings and the size of a property. 4. Select the one that will make virtual reality and 3D models to help the buyers digitally encounter the house. You will need the subscription of their services and to purchase the camera. In this age and day, the bad real estate pictures just are not an option. The possible buyers are online, searching for the ideal home of their dreams and the trusted advisor that will help make their next phase of life as wonderful as it can be. More often, the listing pictures are the very first digital handshakes with your future clients so follow the tips and be certain that you are giving your best foot and all forward.
0 Comments
 No matter what that house is worth, it is always possible to make the house appear like it is worth 10 million bucks. However, first, to properly prepare for the listing photos, each added stuffs that you have rested around the house, needs to be out! According to the top and expert real estate agents, “the buyers need and wish to see the total potential of the house to picture them in it; however, that can be tricky to complete if it’s covered up in the things—and no matter how essential they will be to you.” 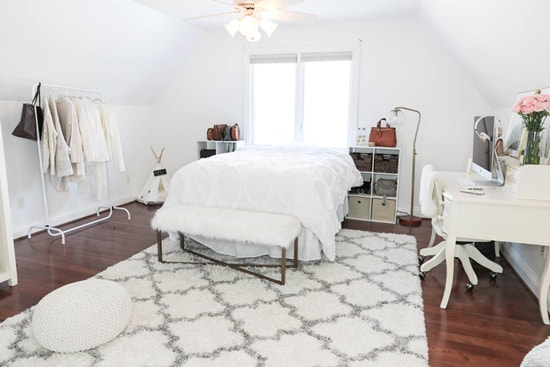 1. Clean and declutter the rooms You can start with your kitchen and take all things off the counter. And that will include the microwave, blender, toaster, or any other kitchen appliances, towels, oils, utensils, etc. that needed to find another house. If you have that space, you may neatly organize them within your pantry or kitchen cabinets. Then, rub down each of your kitchen surfaces which includes any rust that has been shown up through the years, the burned substances which will the stovetop appear speckled and not white, and also, the kitchen floor. Right after completing the work in your kitchen, deal with your living room. Take out anything aside from the table lamps and the furniture. Clear the shoe racks in your entry way or living room, hats off any coat racks, take down the jackets and hide the pet beds. Clean every inch of your house space, make sure to vacuum the moment give your room a tough scrub. Now, execute the same thing for each of your home room. Take away all things besides light fixtures and big pieces of your furniture. That will mean all the toiletries in your bathroom needed to find another home.  2. Be creative with your storage When you are still living in the home where you need to access the things like shampoo, blender, etc. There are top real estate agents that can give you a clever solution to organize it. You can first box up everything and then label your boxes so that these things will be easily accessible. Then, pile the boxes in the garage where your vehicle would normally go. It will allow the normal flow of the home to stay intact, then the will still walk around your boxes to see with the rest of your home space. When there are any other excess items that would not be needed or wanted, now is the best time to donate or sell them. It will make the move easier, the closets more accessible for items you will need and need to store for viewings, and it can make the house much simpler to stage.  3. Stage the house for the close-up
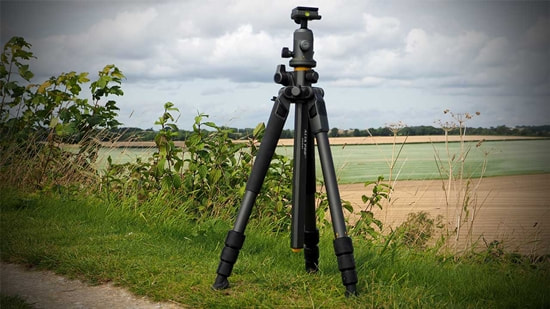
Now that you have decluttered and cleaned your house, you will either have to stage it by yourself or take in one professional staging company. The un-staged houses do not photograph really well, and base on the research, staged houses may fetch the offer 1-5% elevated from the buyers. For the houses to make it feel professionally staged, you will use pops of color and objects to make a bit of “vignettes” in every room. The vignettes suggest how the area might be used. An example is when you have the set of outdoor chairs and tables, place the bottle of wine and two wine glasses on the table. Other famous staging choices include: having a fruit bowl on your dining table, new white towels in the bathroom and bright pillows over your couch. 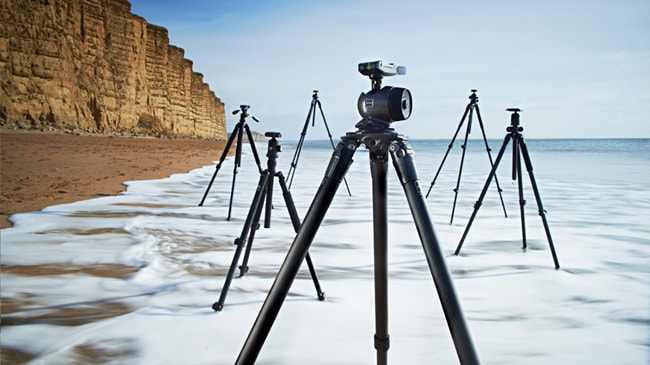 Here are the 10 best tripods for your real estate photography. 1. Manfrotto BeFree Advance Aluminum Features:
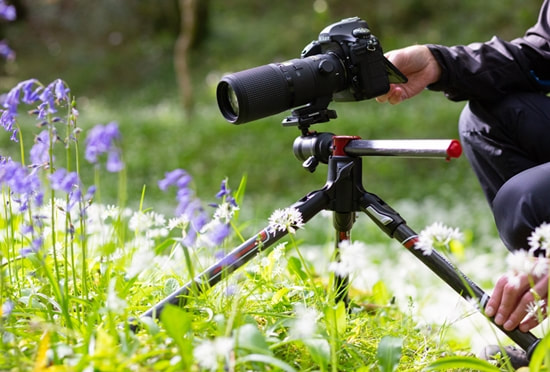
 2. Vanguard 263AB Alta Pro Features:
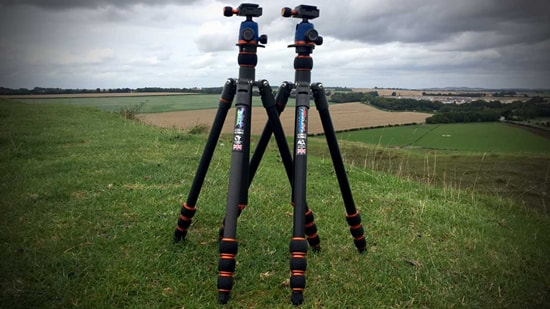
3. Three Legged Things Billy Carbon Fibers Features:
 4. Manfrotto BeFree Aluminum GT XPRO Features:
5. 3-Legged Thing Winston Features:
 6. 3-Legged Things Punks Anarchy Brian Carbons Fiber Features:
7. Manfrotto BeFree Carbons Fiber Features:
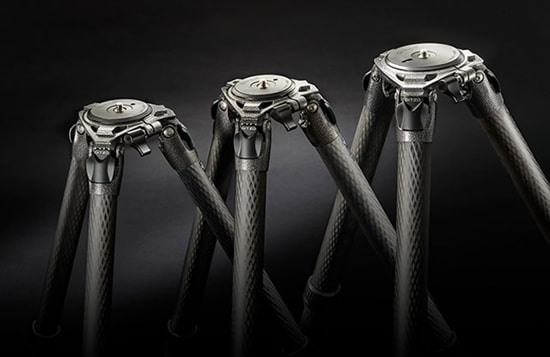 8. Gitzo Systematic Series 3 Features:
9. Gitzo Systematic Sequence 5 Features:
 10. Mactrem PT55 Camera Tripod for Travel
Features:
 Before you jump with the best camera setting for sunset or sunrise photography, let us take a glance at the gear that you may use. Initially, in taking amazing golden hour pictures, you do not need the most costly lenses or cameras. The interchangeable, entry-level lens camera will just be fine. But want will be shown here are some of the lenses that can save lots of money. Mid-range or wide-angle lenses
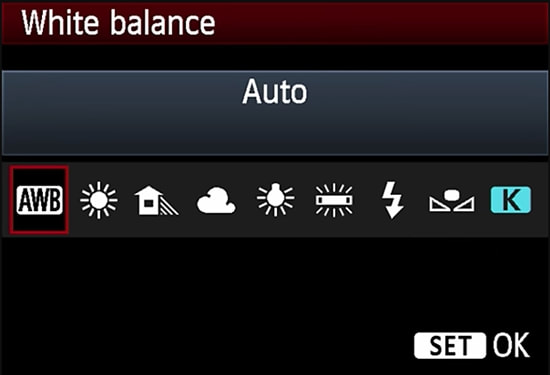 Color Temperature for the Golden Hour Pictures Even when you are shooting in RAW, you may produce optimal warm tone during a golden hour with the manual white balance set-up. Leaving a camera set to the auto white balance be likely to switch the images blue, that defeats the reason of photo shoot during the golden hour. Cloudy white or shade balance settings are the best starting point to keep those adorable warm hues together. 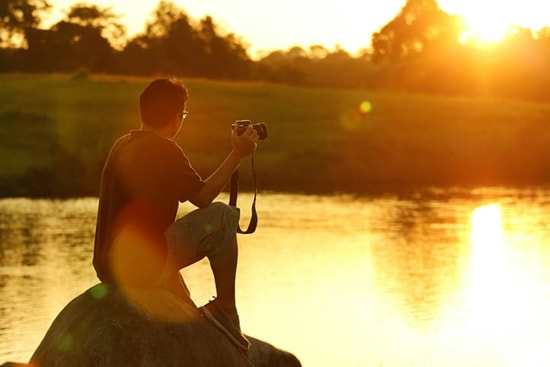 Bonus Golden Hour Real Estate Photography Tips
Over the course of a calendar year, an exact timing for the golden hour differs significantly, even in the single spot. In the Midwest USA, winter golden hour will begin as early as 4:00 o’clock, while the summer golden hour does not start until after 7 in the evening. There are so many available fantastic resources for getting updated, accurate information regarding the present golden hour for the particular place, so you may plan client sessions and photo outings accordingly. With regards to the kind of photography, it will take patience, a bit of experiments and your time to perfect the golden hour shots. Whereas the light is flattering and beautiful, you can struggle to capture this precisely with the camera that is totally normal. Keep on studying great the golden hour images and work to enhance the technique. What are the leading lines? 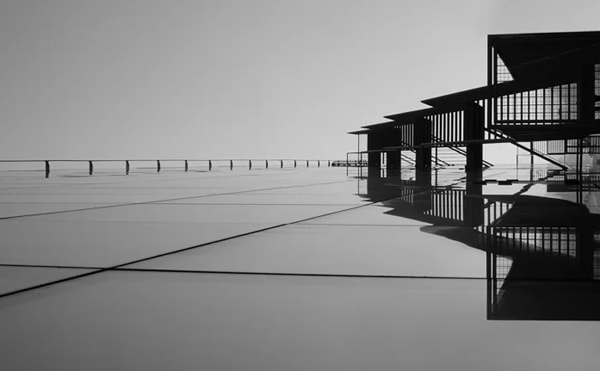 In the photograph, the leading lines are the compositional tools that have been used to guide a viewer’s attention to a particular element within the frame. Basically, they help to draw the eyes of the viewer to the picture’s point of interest. A line can be anything like the roadway, in a skateboarding image above, a bridge, a river, and railway line that leads the eyes into a specific point or subject of the photograph. A great part here is that, this remarkable skill is so easy to learn. Paths VS Leading Lines  Lots of people seem to confuse the leading lines with the paths because of their striking similarities. Initially, the paths and the leading lines are both compositional gears. Its differentiating factor will be, leading lines guide the viewers into a focal point of an image, the visual paths directed an order through which a viewer saw the unlike elements within an image. A path basically guides the eyes to the series of elements instead of the focal point. Furthermore, the visual paths may take the different colors or the shape of patterns. You can also use the visual paths as the leading lines in directing the viewers to a focal point of the image. But, the visual paths are usually used to offer a viewer with the simplest manner to also notice the other elements in an image. Types of the leading lines in the photography 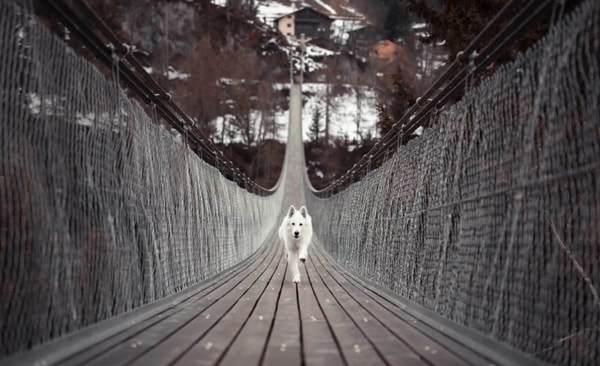 The leading lines may have different forms and shapes. Before you can begin to use leading lines in the real estate photo shots, it is important to know the uncommon types available. Here are the few samples to consider: Converging Lines When the 2 parallel lines converge, it may be able to create a vanishing peak. You can situate the property at the vanishing point to aid a viewer comprehend a spatial relation in the image. 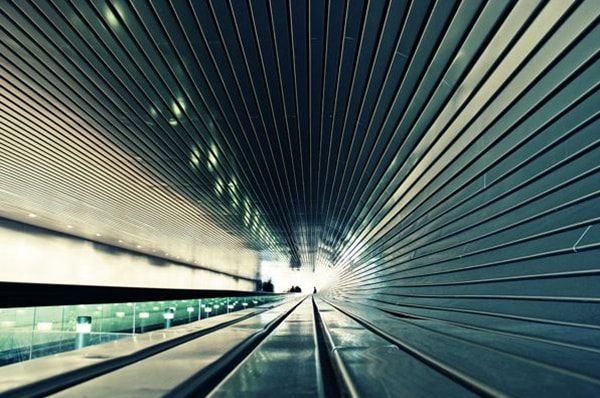 Curved Lines The curved leading line provides the intrinsic sense of progress, which is the best to take dynamic shots. What is even more startling is that you may be able to use the curved lines as the visual paths in guiding the viewers by the different elements situated along a curve.  Diagonal Lines The diagonal lines take the sense of actions in the photograph that seemed to be static. You’ll introduce a diagonal leading line in the composition using the naturally occurring triangles such as wakes in water, dunes and rock formation.  Implied Lines The implied line is simply an implicit line formed by shadows, coastal waves, patterns and sunrays. In an actual sense, they’re not physical lines; however, they can help in drawing a viewer’s attention to the central point of the image. 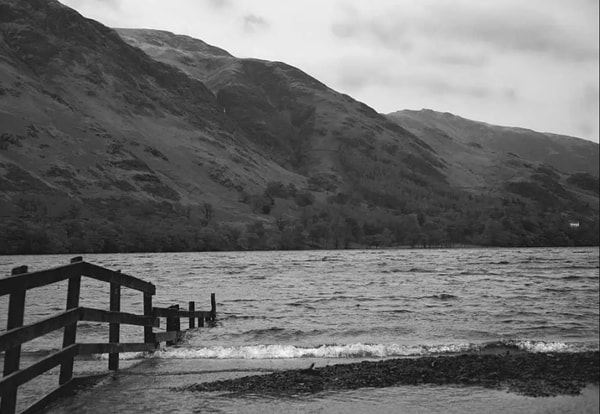 What Should Not Do? Spotting leading line in the photography can be initially hard, especially if you’re a newbie. It’s quite usual for one to have errors in the beginning. However, with a bit of practice, add leading lines in the photography can be a breeze. Below are some of the things that you have to avoid when utilizing leading lines:
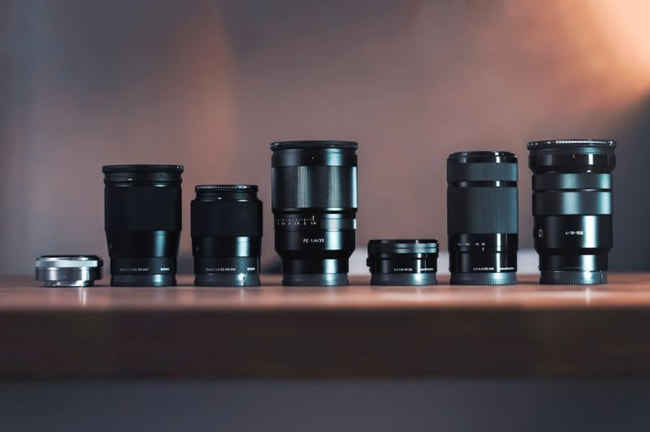 Wider angle lens for your real estate photography There are lots of experienced real estate photo takers that would argue about the wide-angle lenses that are being considered as the most vital one for lots of type of work. But, the word “wide-angle” may be vague. The truth is, it will really mean any focal length that is wider than 35mm. Consider the zoom range or the focal length that you can use for your work when thinking of the best wider angle lens. Do not make mistakes of buying the lens because you just heard that it was sharp; the focal range may not turn out as the best one for you. There is a bit of lenses that are actually “better” than the rest. In fact, when you use the lens correction profile, that are automatically accessible in the raw workflow/conversion software such as Adobe Lightroom and the specialized software like Photomatix, then you may enjoy near-perfect correction for things like the vignetting and distortion. The playing field will be leveled and the finest choice is whatever lenses that will fit the budget and the focal length needs. One example is that there is really a massive difference between 17mm and 14mm, and the wide range will absolutely aid others for some of the real estate jobs, and so here are the listings. 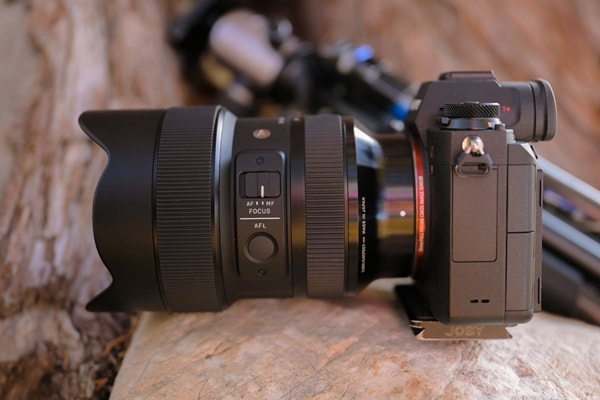 The best wider angle lenses that will reach 17mm, 16mm, 15mm, or 14mm for your real estate photography:
Best lens for the interior photography business 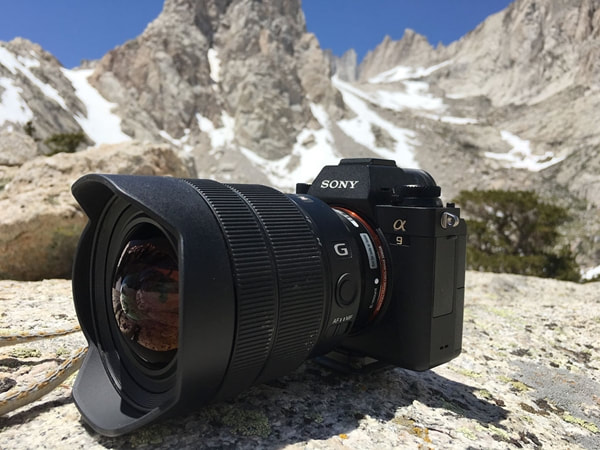 The finest wider angle lenses which can reach 12mm, 11mm, or 10mm for your real estate photography business are:
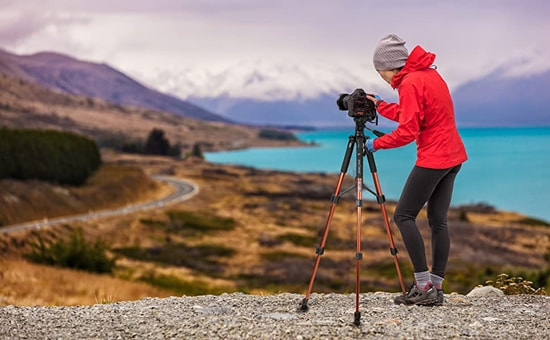
 Below are the three common shots that commonly use in the real estate photo shoot. Detailed Shots: Seal a deal You may have heard the expression about the designs that are in the details. Detailed shots came in to really complete an image. These pictures are the most helpful when the property had very charming decoration and details or to highlight the amenity. They’re helping possible buyers to complete an image that they have behind their mind’s eyes. They are able to communicate the personality of the host or the client service of the hotel. The 35mm-50mm are the focal length that is recommended to use. Medium Shots: Fleshing-out the list The next type of shot will be the medium shot wherein the thought is to highlight exclusive areas of the room. It is the moment to totally show off surprising features of the property, an example is the total range stove, or the well-maintained chimney. The photos are for helping to flesh out the images that you first take with the wide-angle. The lenses between 28mm-35mm is being suggested to use and playing with an aperture between F8 and F5.6.  Wide Angle: This is the bread & butter of the real estate photography This is the first kind of shot that is most likely the one that you have been looking for: a wide angle lens shot. This is the most vital type of photo shoot in the real estate agents. The photos are assumed to show the whole area in all of its glory, describing and giving context of the space. For the classic photo shoot, you may want to avoid deforming an image. It may be tricky to complete a normal shoot because of the wide lens you need to concentrate on not twisting a photo, maintaining the straight lines, and properly balancing a light. For the pictures, you want an entire area in focus so that shooting between F9-F11 can be recommended and maintaining its lowest ISO possible. And since the speed will be gradual, the tripod can be your best buddy! Composing your photo shot When it is about framing your shots, the saying practice makes perfect is applicable. The moment you get to photo shooting often enough, you’ll begin seeing the angles you would love to capture right that moment. But until it will come naturally, there will be some guidelines that you may follow for wide, detailed and medium shots. The final goal is by using the 3 types of pictures to tie together the listing and then present the comprehensive and clear understanding of the property. Think of the interior design magazine, that is what you must aim for: take your time to gradually frame the shots so that they’re balanced and are well-composed. Framing the wide shots
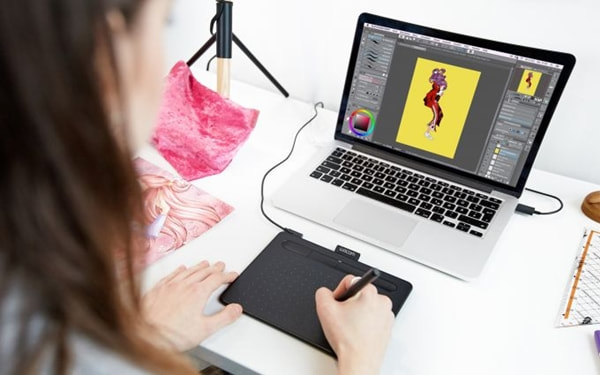
When you are covering a property or a house, you may want to cover with as much base as possible. Begin with analyzing the place and attempt with a few different spots in each area to see which have been the most pleasing angles. Wacom is another good brand of tablet that you can choose for your real estate photo editing business. Here are the kinds of Wacom:  1. Pro Medium Wacom Intuos This is the best graphic tablet for retouchers and photographers and this comes with all the important features for color grading and photo editing. The image editing surfaces are as rough as a paper. It has the updated stylus technology, which gives the pressure-sensitive of 8,192 levels to make sure of precision. It has the built-in tilt sustains. The stylus works even without a battery, you do not need to worry regarding charging it. A kit stylus stand had the stylish design and make sure that the stylus has always been there when you needed it. It is a great tablet for the photo editing which comes with the USB port and then supports MacOS and Windows. It is also supporting Bluetooth to connect with the mobile device. You take multi-touch gestures, customizable short keys, radial menus, and convenient side switch. A kit will include a tablet, stylus, stylus stand, battery and the USB cord. In totality, Intuos Pro Medium will be your ideal image photo editing tablet for photo retouchers and expert’s photographers. Pros:
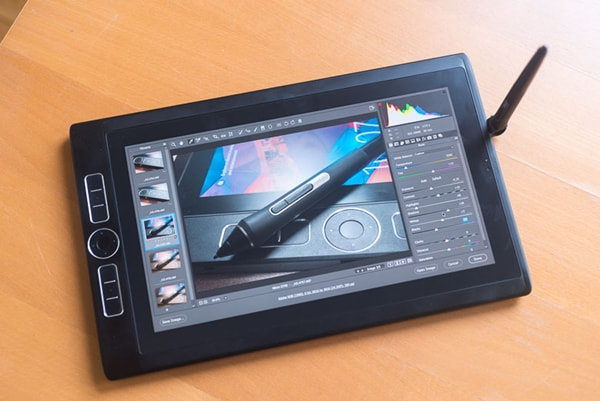 2. Pro 13 Wacom Mobile Studio This will give the professional designers, digital artists, photographers, and illustrators with a mobile tablet convenience together with every power of the graphic device. With the wide selection of an Intel Core processor and the solid-state drives, it is the total fledged Windows-based PC. It is made using a Cintiq technology, but not like the Cintiq style, it isn’t just a display. When you want, you may even connect it with a Mac or the more powerful PC in your studio by using an optional Wacom Link. It is really one the best tablet to use for photo editing. For those that are working with 3D, the RealSense brand of camera will be useful, as it permits you to scan materials and transform them in the 3D model. Pros:
 3. Wacom Intuos Draw
This is the entry-level of graphic tablets in the latest line of this model’s device. It is the best choice for the users who enjoys image editing. When the budget is limited, but you want a Wacom brand, you cannot find a much better tablet. The button layout is not the most convenient. At times it is simpler to utilize the mouse cursor instead of attempting to reach the button. The use of button, especially during the active work, greatly interrupted the workflow. Right after working with the photo controlling tablet for quite some time, you will probably notice a similarity with even more costly tablets for the photo editing, that have 1,024 stylus force level and a the flat work surface. A stylus doesn’t have the eraser. It is the little minus, but an eraser mode is really useful in most cases. But, the stylus still had two buttons on an instance. There is an added wireless module which you may purchase to create a tablet usage more convenient and easier. Pros:
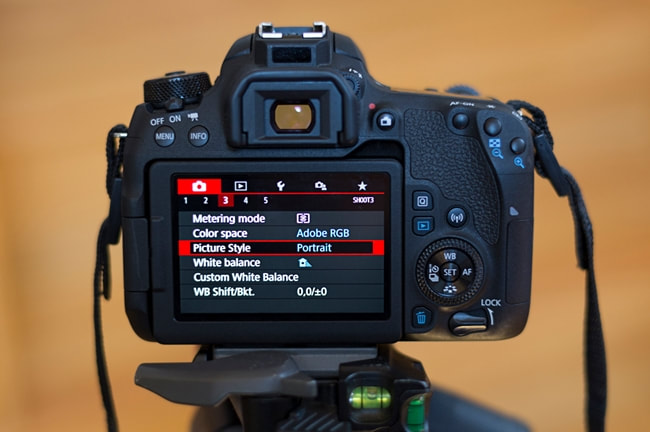
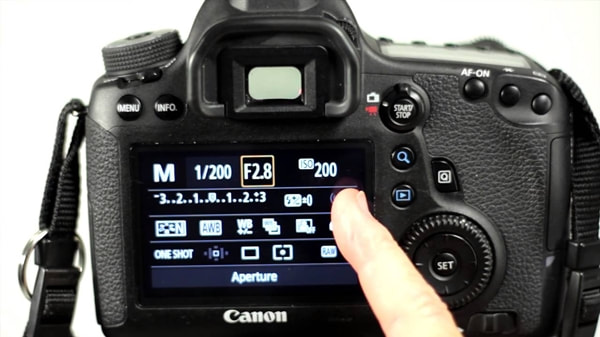 To control more during the picture editing procedure, you must shoot in the RAW instead of JPEG. RAW pictures will provide you the best ability to alter the image—they are mostly negatives that have not been done yet. You have even more control over an exposure of the white balance, the image, shadows, contrast, highlights and more. They are much bigger files and are impractical without editing, and so you may have to do even more to complete them. When you want to make less work in the post production and be aware that you can take the shots perfect during the first time, shoot in JPEG. You may want to set an aperture, shutter speed and ISO of the camera. The aperture controls how much light will come in with the lens, and an ISO controls how delicate a camera is in the light. A shutter speed is controlling how long a camera allows the light to reach a sensor. Suggested real estate photography set-up:
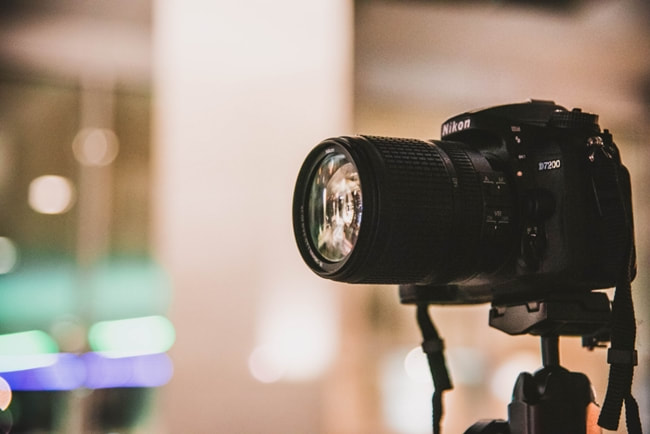
How to complete the science of the real estate listing pictures?  Materials: You cannot control nearly that much with the iPhone as what you can with the high quality camera. You’ll also need to photo-shoot with the wide lens that the iPhones don’t have. You need to purchase, rent, or borrow a DSLR or high quality camera, wide angle lens and a tripod. There are tons of DSLR cameras that you can choose from, but real estate photography will fit best with Canon and Nikon. The wide angle lens has been important to get the proper listing photos. The wide angle lens has been the difference between taking an image and taking half the area and shooting an image where you will see the entire space. You have to use the wide angle lens in every shot! 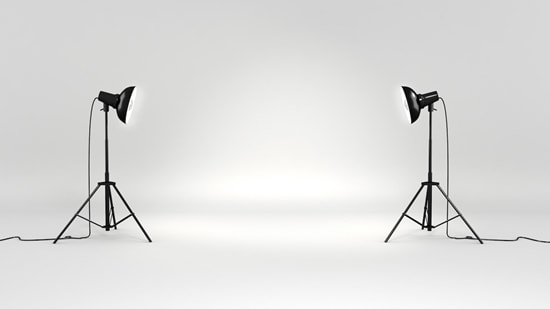 Lightings:
The best lightings for the indoor image will be if the sun is shining and bright. Outdoor shots will be best taken at sunset. Avoid rainy, overcast, and cloudy days, as it will cause uneven white balance and bad lighting. When you want to take a more technical regarding it, the great time to photo shoot will depend on the way every room in the house faces. You’ll wish the sun was behind your camera so that the colors are clarified. For example, when capturing pictures of an outside, you may assume that: you must have the photo in an East-facing home during the morning, the West-facing home in the afternoon, the North-facing home between 10 a.m. - 4 p.m., and the South-facing home during the early morning and just before the sunsets. For inner shots, take into consideration the placement of windows in each room, and assess the sun’s position. Then, take some test shots to identify when the light is at its best. You must be able to witness the details and the colors in the room; however, the shots should not be so bright where the windows and the colors are blown out. Remember to not rely on the artificial lights in the room, except when a home is dark itself that each light bulb in the area is similar. 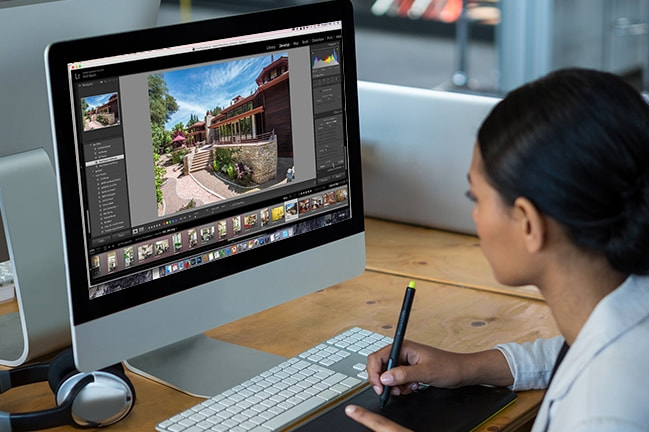 Take full benefit of retouching Regardless of how good the photo shot has been, there will always be that room for some possible upgrading. It is safer to say that captivating pictures is just half of the procedure of the entire retouching. Before you will get lost with the diversity of software that is available now on the market, and you have to understand that the goal is to create pictures that are appealing while maintaining them with their natural-appearance. There is a light bit of software accessible, but when you want to conserve your time, feel open to depend on our choice. It is suggested to use Photos for desktop, Adobe Photoshop Lightroom and Snapseed or VSCO for mobile. There had been lots of things you will have to do to your pictures, but do not get irritated and concentrate on the following jobs: The vertical correction is possibly one of the vital things to do. Every vertical line should be vertical; this will be an absolute must. If not, the walls can appear unstable, and the entire photo can scream unprofessional.
Be sure to avoid frequent errors They say that the devil is into the details, and so you must not underestimate the significance of minor problems. Given this, here is the list of the common errors amateur real estate photo takers seemed to make.
|
A. RookeReal estate photographer for 10 years. Archives
August 2020
Categories |
 RSS Feed
